Enable vmxnet3 in ESXI / vSpehere for Napp-IT Omni OS VM
One of the first things to do to ensure you’re getting the most performance out of your All In One Napp-IT / ESXI virtualization machine is to be sure you’re using the vmxnet3 Network Adapter and not E1000.
These instructions are for ESXi 6.0 and vShepere 6.0.0
- Login to your ESXi server with vSpehere
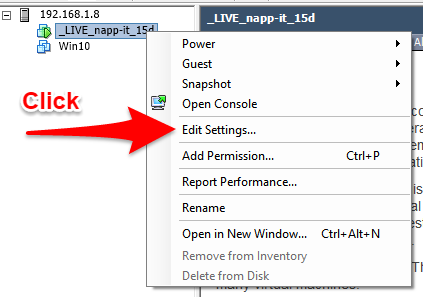
- Right Click the virtual machine you want to change network adapter to vmxnet 3 and click “Edit Settings” (Shown below).
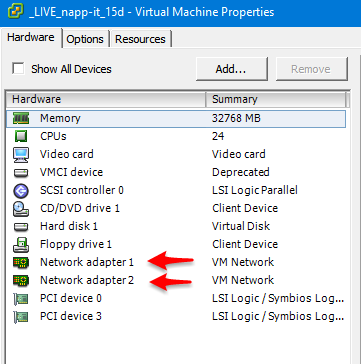
- You will see “Network Adapter 1” “Network Adapter 2” or possibly +/-
- Click on the “Network Adapter 1” and if you’re setup is like mine you’ll see that it says: “Current Adapter: E1000” on the right side.
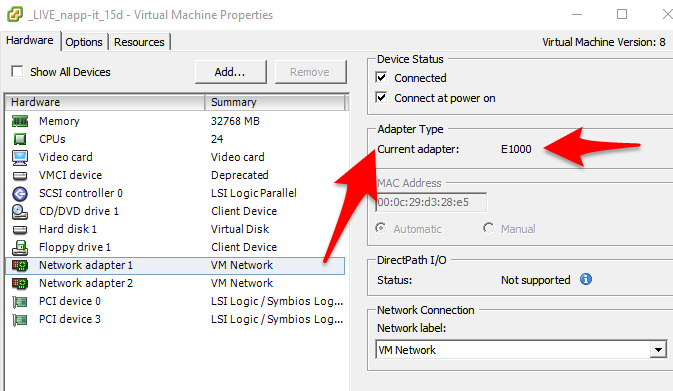
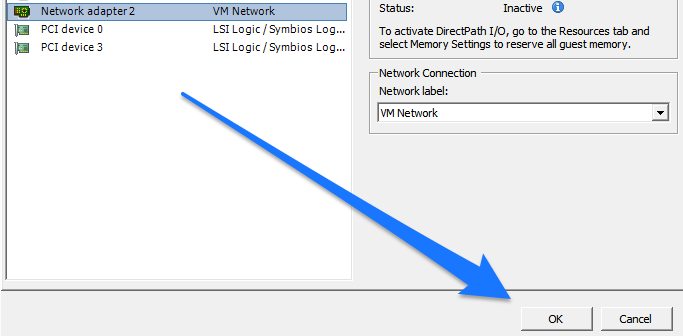
You will also notice at the top it is “Connected” that’s only due to me having this VM powered up at this time. - Next you want to Click Network Adapter 2 and in the right pane you want to check “Connect at Power On” for the vmxnet3 adapter.
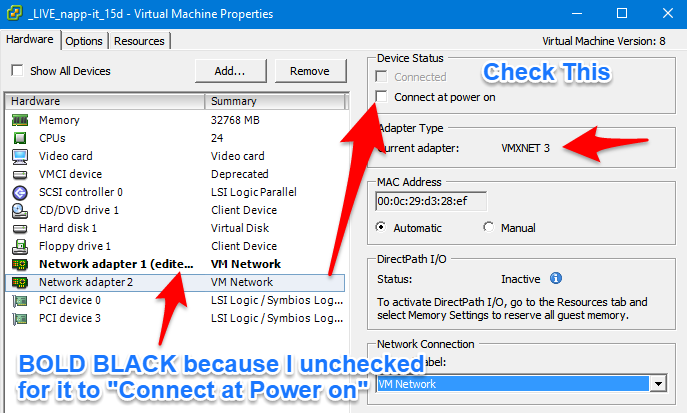
In this step we want to make sure we CHECK “Connect at Power on” for VMXNET 3 (as shown above). - Now that we’re finished making changes we will click “OK” to save the settings for our Napp-IT / OmniOS VM
- The next step is to Power On the VM, wait for it to boot.
- Click on “Console” in vSpehere for the Napp-IT / OmniOS VM and then login as root to your Omni-OS/Napp-IT VM, and type: ifconfig -a to find the new IP Address.
*NOTE* VMXNET 3 adapter is ONLY available if you have VMare Tools Installed - Then connect to the Napp-IT Web Interface to ensure that the new adapter is enabled and Up.
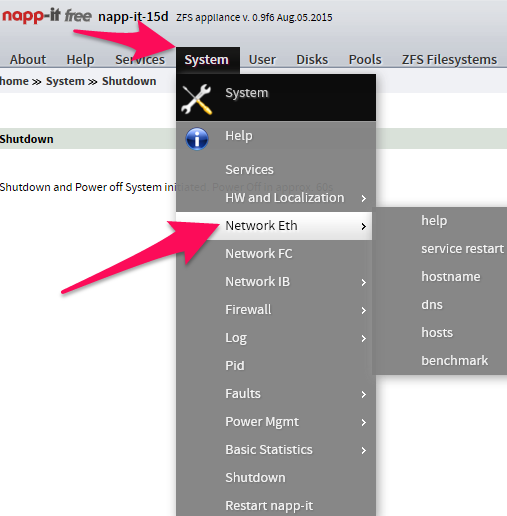
- You want to go the Network Eth settings which is found in the System Menu as shown here:
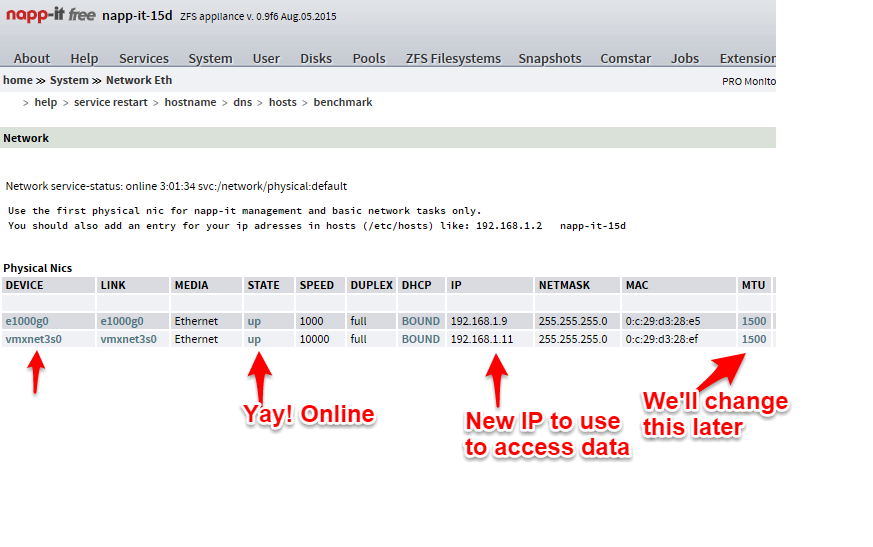
- You can see the network device name, the state is UP, and that the new IP is available here in case you skipped the console step above to find it. Also you’ll notice MTU is 1500. We will show you how to change this setting in OmniOS/Napp-IT GUI as well as ESXi vSwitch.
- If you’re sharing via NFS back to ESXi for VM datastore be sure to power down (you should have already) all VMs utilizing that storage, unmount it, and then “Add Storage” using the vmx3 IP you just discovered and setup.
Be sure to check back for our future articles on:
- Performance tuning NFS & Network Adapter settings for OmniOS & ESXi
- Enabling Jumbo frames in ESXi and OmniOS (Napp-IT Appliance).